If you’re looking for a fun DIY project that can help reduce waste and add a cozy touch to your home decor, why not try making a rug out of old T-shirts? With just a few simple materials and some basic sewing skills, you can create a unique and personalized piece that’s sure to impress. In this article, we’ll provide a step-by-step guide on how to make rugs using T-shirts, from gathering your materials to finishing touches. Let’s get started!
Key Takeaways
- Repurpose old T-shirts into a cozy and personalized rug for your home.
- You’ll need a large quantity of T-shirts, fabric scissors, a non-slip rug pad, and a sewing machine or fabric glue.
- Cut T-shirts into long strips and use a non-slip rug pad as a foundation for your rug.
- Secure the T-shirt strips to the rug pad and coil tightly, alternating colors to create a pattern.
- Add a fabric backing or stitching around the edges for added durability and a clean finish.
Gather Your Materials
Before you can start making your T-shirt rug, you need to make sure you have all the necessary materials. Here’s what you’ll need:
| Materials | Quantity |
|---|---|
| Old T-shirts | A large quantity, preferably in different colors |
| Fabric scissors | 1 pair |
| Non-slip rug pad | 1 (or more, depending on rug size) |
| Sewing machine or fabric glue | 1 (depending on your preference) |
Be sure to gather all of your materials before starting your project to make the process smoother and more efficient.
Now that you have all of your materials, it’s time to move on to the next step: preparing your T-shirts.
Prepare the T-Shirts
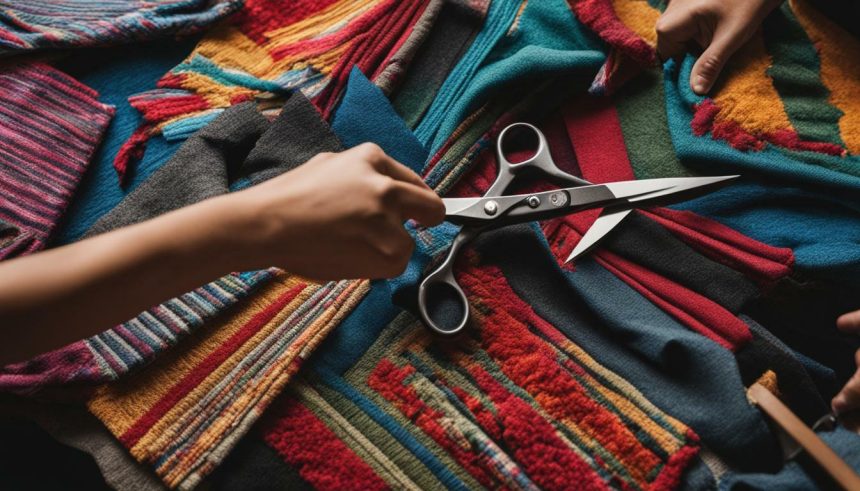
Before you start making your T-shirt rug, it’s important to prepare your T-shirts. Start by sorting them by color to help create your desired design. Then, using a pair of fabric scissors, cut your T-shirts into long strips that are approximately one to two inches in width. You can do this either by cutting the strips from the bottom hem to the collar or by cutting off the side seams and joining them together to create a continuous strip.
Ensure that your strips are all the same width to maintain consistency throughout your rug. It’s also a good idea to iron out any wrinkles or creases in your T-shirt strips before you start coiling them onto your rug pad.
Now that your T-shirts are prepped and ready to go, you can move on to creating the rug’s base.
Create the Rug Base
To start making your T-shirt rug, you will need a foundation to build upon. A non-slip rug pad is an ideal base for your project, as it provides stability when walking on the rug and prevents it from slipping. You can easily find rug pads at any home goods or hardware store.
Before laying out your rug pad, measure the area where you plan to place the rug. Cut the rug pad to your desired size and shape, making sure it fits well in the intended space. Once you have your rug pad in place, you’re ready to move on to the next step of the process.
Note: If you don’t want to use a rug pad, you can also create a base using an old piece of fabric or an old rug that you no longer use. However, keep in mind that a non-slip surface is important for safety reasons.
Make the T-Shirt Rug
Now that you have all your materials ready and prepared your T-shirt strips, it’s time to start making your rug!
Begin by securing one end of a T-shirt strip to the rug pad using either a sewing machine or fabric glue. Make sure the strip is tightly coiled around itself as you attach it to the rug pad. You can use either a straight or zig-zag stitch if you are using a sewing machine. If you prefer to use fabric glue, apply it sparingly and ensure that the strip is firmly attached before moving on to the next one.
Continue coiling the T-shirt strip tightly around the attached strip and the rug pad, attaching it as you go along. Use your fingers to push the strip tightly together to avoid any gaps between strips. Repeat this process with the remaining T-shirt strips, alternating colors to create a pattern or design of your choice.
As you work your way around the rug, make sure the coils are even and that the rug is flat. If you notice any bumps or uneven areas, adjust the T-shirt strips as necessary. It’s essential to keep the rug flat and even as you go along to avoid any lumps or bumps in the finished product.
Once you have completed coiling all the T-shirt strips and reached your desired size, secure the final strip to the rug pad. Trim any excess fabric and tuck the end neatly underneath to create a clean finish. You can also consider adding a fabric backing or stitching around the edges for added durability.
With a little patience and creativity, you will have a unique T-shirt rug that can be proudly displayed in any room in your home. Enjoy your new handmade creation!
Finishing Touches
Now that you’ve coiled all your T-shirt strips and reached the desired size of your rug, it’s time to add some finishing touches to give it a polished look. First, secure the final strip to the rug pad, making sure it’s tightly secured. Next, trim any excess fabric to ensure your rug has a neat and tidy finish.
If you want to take it a step further, you can create a fabric backing to attach to the underside of the rug. This will not only add another layer of durability to your rug but also give it a more professional look. Alternatively, you can stitch around the edges of your rug using a matching thread to prevent the edges from fraying.
Once you’ve completed these final touches, your T-shirt rug is ready to be displayed in your home. Step back and admire your work – not only have you created a unique and personalized piece of home decor, but you’ve also repurposed old clothing and reduced waste.
Conclusion
Making your own rug out of T-shirts can be a fun and rewarding DIY project. Not only does it help reduce waste and repurpose old tees, but it also allows you to add a personalized touch to your home decor. Remember to gather all the necessary materials, prepare your T-shirts by cutting them into strips, and create a sturdy base for your rug. Then, start coiling your T-shirt strips and attaching them to the rug pad to create your unique design. Don’t forget to add finishing touches such as trimming excess fabric and securing the final strip for a clean finish. With patience and creativity, you can enjoy showcasing your handmade T-shirt rug in any room of your home.