If you’re looking to add a personal touch to your home decor, making a latch hook rug is a perfect way to do so. With this step-by-step guide, you’ll be able to create beautiful latch hook rugs in no time. Whether you’re a beginner or have some experience with crafting, this guide will provide you with all the necessary information to get started.
Key Takeaways:
- Creating a latch hook rug allows you to add a personal touch to your home decor.
- This step-by-step guide is suitable for both beginners and those with some crafting experience.
- You’ll need specific materials, such as a latch hook tool, yarn, and a rug canvas, to start creating your latch hook rug.
- The design and color selection process is crucial to achieving the desired aesthetic.
- Once finished, take the time to add the finishing touches to protect your rug and ensure its longevity.
Getting Started with Latch Hook Rugs
Before you dive into creating your latch hook rug, it’s important to understand the basics of the latch hook technique and gather all the necessary materials.
The Latch Hook Technique
The latch hook technique involves knotting short lengths of yarn onto a rug canvas using a special latch hook tool. This creates a loop pile texture similar to traditional hooked rugs.
To start, thread a piece of yarn through the latch hook tool and pull it halfway through the latch. Insert the hook through a hole in the canvas from the back, catching the yarn with the hook. Pull the yarn back up through the canvas, creating a loop. Then, thread the end of the yarn through the loop and pull it tight to create a knot.
Materials Needed
To get started with latch hooking, you’ll need the following materials:
| Material | Description |
|---|---|
| Latch hook tool | A special tool with a latch mechanism used to pull yarn through the canvas |
| Yarn | Choose a sturdy yarn in your desired colors. It’s important to select yarn with the appropriate thickness for your canvas size |
| Rug canvas | A grid-like fabric with evenly spaced holes, available in different sizes |
| Scissors | Used to trim excess yarn and finish your rug |
| Rug binding | A fabric strip used to neatly finish the edges of your rug |
Now that you have an understanding of the latch hook technique and all the necessary materials, you’re ready to start designing your latch hook rug.
Designing Your Latch Hook Rug
Now that you have the materials and understand the latch hook technique, it’s time to design your rug. The design you choose will determine the overall look and feel of your latch hook rug. Whether you want to create a simple pattern or an intricate image, here are some tips to guide you:
Choosing a Design
When choosing a design for your latch hook rug, consider your personal style and the room where the rug will be placed. If you’re new to latch hooking, start with a simple pattern with fewer colors. As you gain experience, you can move on to more complex designs.
You can find latch hook rug patterns online or create your own design using graph paper. Look for inspiration in nature, art, or other decorative elements in your home. You can also use a photograph as a reference for your rug design.
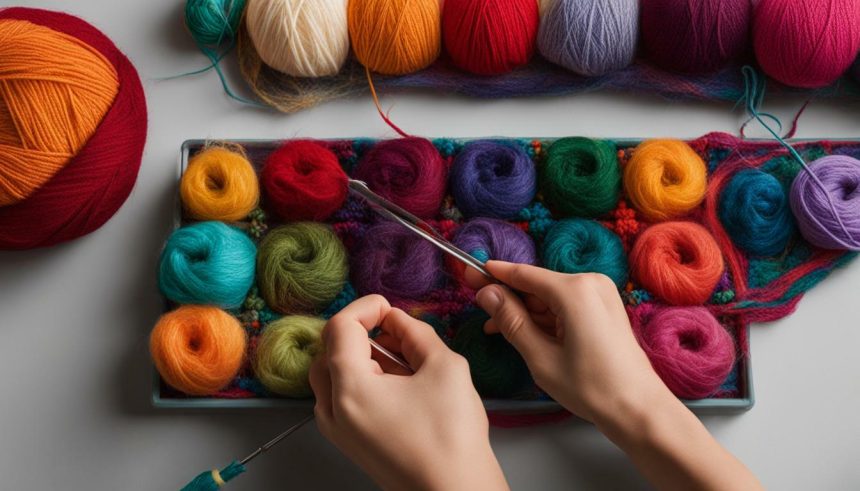
Selecting the Right Colors
The right colors can make or break your latch hook rug design. Consider the color scheme of the room where the rug will be placed. Do you want your rug to blend in or stand out? Do you want it to match other decor elements in the room? Use a color wheel to help you choose colors that complement each other.
When it comes to selecting yarn colors, keep in mind that they may look different in natural light than under artificial lighting. It’s always a good idea to test your colors in different lighting situations before committing to a design.
With these tips, you’re ready to start designing your latch hook rug. Remember to have fun and experiment with different patterns and colors to create a unique and beautiful rug that reflects your personal style.
Creating Your Latch Hook Rug
Now that you have your design and colors selected, it’s time to start creating your latch hook rug. Here are the steps to follow:
| Step | Description |
|---|---|
| 1 | Transfer your design onto the rug canvas using a marker or pen. |
| 2 | Starting from the bottom of the canvas, use your latch hook tool to pull a strand of yarn through a hole, leaving a few inches at the end. |
| 3 | Fold the strand in half, making a loop, and place it over the latch hook tool. |
| 4 | Insert the latch hook tool underneath the next hole in the canvas, pulling the yarn through to the top. |
| 5 | Hook the two ends of the yarn over the latch hook tool and pull them through the loop, making a knot. |
| 6 | Repeat steps 2-5 for each hole in the canvas, following your design and color scheme. |
When creating your latch hook rug, you can experiment with different knotting techniques to add texture and interest. Here are some techniques to try:
- Loop pile: Make loops of yarn and secure them with a knot to create a fluffy texture.
- Cut pile: Cut the loops with scissors to create a plush, velvety surface.
- Combined pile: Combine loop and cut pile techniques to create a varied texture.
Remember that creating a latch hook rug takes time and patience, especially if it’s your first time. Take breaks when needed and enjoy the process.
Finishing and Caring for Your Latch Hook Rug
Congratulations on finishing your beautiful latch hook rug! The hard part is over, but there are still a few finishing touches to add before you can display it in your home.
The first step is to secure the knots. Turn your rug over and apply a bead of fabric glue along the back of the knots and let it dry. This will prevent the knots from unraveling.
Next, trim any excess yarn using sharp scissors. Be careful not to cut any of the loops.
If you plan on placing your rug on a hard surface, you may want to add a backing to protect it. Cut a piece of felt or rubber the size of your rug and use fabric glue to attach it to the back. This will also help prevent slipping.
Now that your rug is finished, it’s important to take good care of it. Here are some tips to keep it looking great for years to come:
| Tip | Explanation |
|---|---|
| Vacuum Regularly | Use a vacuum cleaner with a low setting or a handheld vacuum to remove any dirt or dust. |
| Spot Clean | If there are any spills or stains, blot them immediately with a clean cloth and spot clean with a mild detergent. |
| Shake it Out | Periodically take your rug outside and give it a good shake to remove any loose dirt or debris. |
By following these simple steps, your latch hook rug will remain a cherished part of your home decor for years to come.
Conclusion
Now that you’ve finished your latch hook rug, you might feel a sense of accomplishment.
Remember that practice makes perfect, and with each rug you create, you’ll learn new tips and tricks to improve your technique. Don’t be afraid to experiment with different designs and colors to create something unique and beautiful.
As you showcase your new decor in your home, be sure to care for it properly by vacuuming regularly and avoiding placing it in direct sunlight. With the right maintenance, your latch hook rug can last for years to come.